
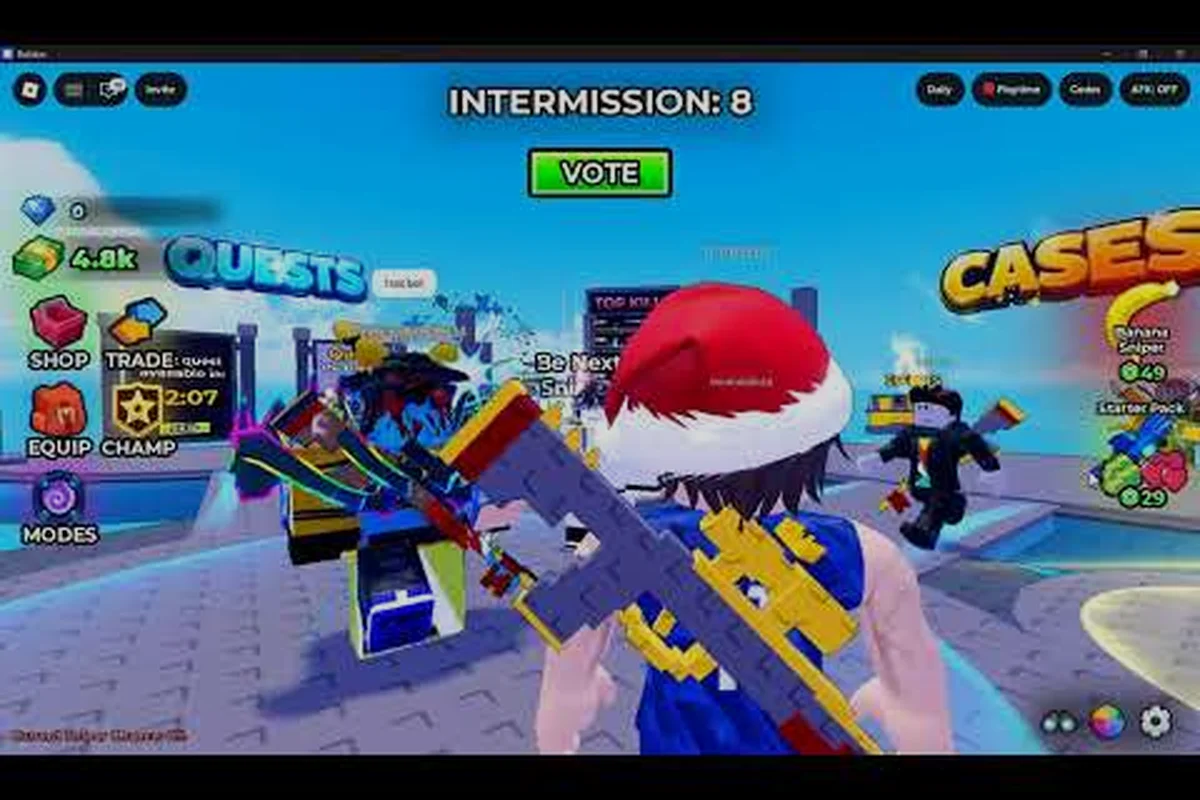
Every round of Snipers Vs Runners! on Roblox plays out across a single, carefully designed course where the map layout determines who wins and who gets eliminated. Understanding the snipers vs runners map strategy is not optional — it is the difference between reaching the finish line and becoming another sniper highlight reel. The course is built around three distinct pressure zones: the chaotic spawn area, the exposed mid choke, and the deadly final corridor. Each zone demands a different approach, and players who treat the entire map the same way rarely survive past the first few seconds.
The game by STOCK STUDIOS INC. has drawn over 3.96 million visits since its May 2026 release, and the community has already mapped out the most effective routes through every section. Whether you play as a Runner sprinting for the end or as the Sniper holding elevated sightlines, knowing exactly where the danger zones begin and end gives you a massive edge. This guide breaks down the complete snipers vs runners map layout, explains how to read each section, and provides practical tactics for both roles.
The Three Pressure Zones of the Snipers vs Runners Map Layout
The entire course in Snipers Vs Runners! can be divided into three distinct segments, each with its own rhythm and danger profile. The snipers vs runners map layout is not a flat sprint — it is a series of choices where the Sniper's sightlines intersect with the Runner's path options. Understanding these zones is the foundation of any solid snipers vs runners map strategy, because each one demands a different movement pattern and ability usage.
The first zone is the spawn chaos, where all Runners begin clustered together. This is the most dangerous opening in the game because the Sniper has a clear, unobstructed view of the entire starting area. The second zone is the mid choke, a narrow passage that funnels Runners into a single file line, making them easy targets. The third zone is the final corridor, the last stretch before the finish line, where the Sniper typically saves their best shots and where most rounds are decided.
| Zone | Distance | Danger Level | Primary Threat |
|---|---|---|---|
| Spawn Chaos | Short | High | Instant elimination from elevated sniper perch |
| Mid Choke | Medium | Extreme | Forced single-file movement through narrow gap |
| Final Corridor | Long | Very High | Open ground with minimal cover before finish |
Each zone requires a different approach, and the best players adjust their strategy the moment they spawn. The snipers vs runners map layout rewards players who think ahead rather than reacting to the Sniper's shots. According to community reports from the official Roblox game page, matches typically last under two minutes, which means every second spent hesitating in the wrong zone is a second that gets you eliminated.
Spawn Chaos: Surviving the Opening Seconds
The spawn chaos phase begins the instant the round starts. All Runners materialize in a tight cluster near the course entrance, and the Sniper immediately has a bead on the entire group. This is where most new players die because they sprint forward in a straight line, giving the Sniper an easy target. The key to surviving this opening phase is to break away from the pack immediately and use whatever cover exists near the spawn point.
The spawn area typically features a few low barriers and crates that provide partial cover. Experienced Runners use these to angle their first movement, forcing the Sniper to adjust their aim rather than taking a clean shot. The snipers vs runners spawn chaos is also where ability usage matters most — popping a smoke screen or speed boost in the first three seconds can mean the difference between reaching the mid choke and getting picked off before you cover ten meters.
For the Sniper, the spawn chaos phase is about target selection rather than rapid firing. The best Snipers wait for the pack to spread out slightly, then pick off the Runners who break from the group in predictable patterns. According to gameplay footage from RoBros on YouTube, the most effective Snipers hold their fire for the first second or two, letting the Runners commit to their routes before choosing targets.
Mastering the Mid Choke: The Map's Deadliest Section
The mid choke is widely considered the most dangerous part of the entire course, and for good reason. This narrow passage forces all Runners into a single-file line, stripping away the movement options that keep you alive in the open sections. The Sniper knows exactly where you have to go, which means they can pre-aim the choke point and wait for you to walk into their crosshairs. This is where the snipers vs runners mid choke becomes a test of timing and nerve rather than raw speed.
The choke itself is typically a narrow gap between two walls or a bridge with limited side clearance. There is no way around it — every Runner must pass through this section to reach the final corridor. The only variables are when you enter and what abilities you have available. Players who rush the choke immediately after spawn often die because the Sniper is still focused on the spawn area and will swing their aim toward the choke the moment they see movement.
| Approach | Risk Level | Best Ability | Success Rate |
|---|---|---|---|
| Immediate rush | Very High | Shield | Low |
| Wait for pack | Medium | Smoke | Moderate |
| Staggered entry | Low | Decoy | High |
| Ability combo | Low | Smoke + Speed | Very High |
The snipers vs runners mid choke demands a different approach depending on your role. As a Runner, you want to wait for a group to form, then enter the choke as part of a cluster rather than alone. The Sniper can only take one shot at a time, and a group of three or four Runners forces them to choose a target while the others slip through. As the Sniper, the choke is your best opportunity to rack up eliminations because the Runners have nowhere to hide.
Timing Your Entry Through the Choke
Timing is everything at the mid choke. Enter too early and you become the Sniper's sole focus; enter too late and you give them time to reload and re-aim. The optimal approach, based on community testing and gameplay analysis from carry game, is to wait roughly two to three seconds after the first Runner enters the choke before making your move. This gives the Sniper time to take their first shot, which means they are momentarily reloading when you enter.
Ability usage at the choke can dramatically improve your survival odds. A well-placed smoke screen at the choke entrance blinds the Sniper and gives you a clean window to sprint through. A shield ability absorbs one hit, which is often enough to get you past the danger zone. The decoy ability is particularly effective here because it draws the Sniper's attention away from your actual position. For a full breakdown of how these abilities interact with map positioning, check out our spawn points and map knowledge guide, which covers the specific angles and sightlines at each section.
The Final Corridor: Where Rounds Are Won and Lost
The final corridor is the last stretch before the finish line, and it is where the snipers vs runners final corridor strategy becomes critical. Unlike the mid choke, this section is typically more open, but it is also longer and more exposed. The Sniper has a clear view of the entire corridor from their elevated position, and they have had time to reload and reposition by the time Runners reach this point. This is where rounds are decided, and the team that handles this section better almost always wins.
The corridor usually features a few pieces of partial cover — low walls, crates, or pillars — but nothing that provides complete protection. Runners must zigzag between these cover points while advancing toward the finish line. The Sniper, meanwhile, must decide whether to focus on the lead Runner or pick off the stragglers. According to community data from the official game page, the final corridor accounts for roughly 40% of all eliminations, making it the deadliest section of the map.
| Cover Point | Protection Level | Best Use |
|---|---|---|
| Low wall | Partial | Crouch and pause before next sprint |
| Crate stack | Moderate | Full stop, bait the sniper shot |
| Pillar | Partial | Quick peek and move |
| Open ground | None | Sprint with ability active |
The snipers vs runners final corridor requires a different mindset than the earlier sections. By this point, you have already invested significant time in the round, and dying here feels worse than dying at spawn. The best approach is to save at least one ability for this section — burning all your abilities at the mid choke leaves you completely exposed in the corridor. Experienced Runners enter the corridor with a plan: identify the next cover point before you leave the current one, and never stop moving for more than a second.
Sniper Positioning in the Final Corridor
For the Sniper, the final corridor is where you can seal the round. The elevated sightline gives you a commanding view of the entire stretch, and the Runners have fewer options than they did in the earlier sections. The key is to prioritize targets — the lead Runner is the most important because they are closest to the finish line. However, a well-timed shot at a group of Runners can eliminate multiple threats if they are clustered together.
The snipers vs runners map strategy for the final corridor also involves managing your reload timing. The worst thing you can do is fire and miss, then watch the Runners sprint past while you are reloading. Take your time, line up the shot, and make it count. If you are playing with a team, coordinate with your teammates to cover different angles — one Sniper focuses on the lead Runner while the other picks off the stragglers. For more on how different Sniper skins and loadouts affect your effectiveness, see our sniper skins ranked analysis.
Complete Snipers vs Runners Map List and Route Planning
The current build of Snipers Vs Runners! features a single primary course, but the snipers vs runners map list includes variations that rotate with updates. The core layout remains consistent, but STOCK STUDIOS INC. has introduced subtle changes to the obstacle placement and cover positions in recent patches. Understanding the snipers vs runners all maps rotation helps you prepare for the differences between each version.
| Map Variation | Key Difference | Best Runner Route | Best Sniper Spot |
|---|---|---|---|
| Standard Course | Default layout | Inside lane through mid choke | Elevated center perch |
| Obstacle Course | Added jump pads and barriers | High route with speed boosts | Overlooking jump pad landing zones |
| Parkour Route | Vertical sections and wall jumps | Upper path with fewer sightlines | High ground near final corridor |
The snipers vs runners map list continues to grow as the developer releases updates. The game was created on May 16, 2026, and has already received several patches that adjusted the map layout based on player feedback. Community reports suggest that future updates will introduce additional map variations, including a night version with reduced visibility and an industrial theme with more vertical elements. For the latest information on upcoming map changes, check out our new maps and obstacle course guide.
Route Planning by Role
Your route through the map depends heavily on your role. As a Runner, you want to minimize your exposure to the Sniper's sightlines while maintaining forward momentum. The inside lane through the mid choke is generally safer because it offers slightly more cover, but it is also more predictable. The outside lane gives you more room to maneuver but exposes you for longer. Most experienced Runners alternate between lanes based on the Sniper's position.
As the Sniper, your route is less about movement and more about positioning. The elevated center perch offers the best view of the entire course, but it also makes you a predictable target if the Runners have any way to fight back. The snipers vs runners map strategy for the Sniper involves constantly adjusting your position based on where the Runners are clustered. If they are all bunched up at the mid choke, reposition to get a better angle. If they are spread out through the final corridor, hold your position and pick them off one by one.
Advanced Map Strategy: Ability Synergy and Positioning
The most effective snipers vs runners map strategy combines map knowledge with smart ability usage. Each ability has a specific role to play at different points in the course, and knowing when to use them can dramatically improve your survival rate. The snipers vs runners map layout rewards players who think about ability timing as part of their route planning rather than as a reactive measure.
| Ability | Best Map Section | Timing | Synergy |
|---|---|---|---|
| Smoke Screen | Mid choke entrance | Use 1 second before entering | Combo with speed boost |
| Speed Boost | Final corridor | Use when leaving last cover | Combo with shield |
| Shield | Spawn chaos | Use immediately at spawn | Combo with smoke |
| Decoy | Mid choke exit | Use to draw sniper fire | Combo with speed boost |
The snipers vs runners spawn chaos is the best place to use defensive abilities like the shield, because the Sniper has a clear view of the entire starting area. The snipers vs runners mid choke is where offensive abilities like the decoy shine, because they can draw the Sniper's attention away from your actual position. The snipers vs runners final corridor is where speed and shield abilities matter most, because you need to cover open ground quickly.
Pinpointing the Sniper's Angle of Fire
A key part of advanced map strategy is reading the Sniper's position and adjusting your route accordingly. If the Sniper is holding the elevated center perch, they have a clear view of the mid choke and the final corridor. This means you need to use cover more aggressively and time your movements between their shots. If the Sniper has repositioned to a lower angle, they may have sacrificed visibility for a better shot at a specific section — this is your opportunity to move quickly through the areas they are not watching.
The best way to learn these patterns is through practice and observation. Watch how the Sniper moves after each shot — do they reload in place or reposition? Do they favor one side of the map over the other? According to community reports, most Snipers develop a preferred side, and exploiting this tendency can give you a significant advantage. The official Snipers Vs Runners! game page is a good place to connect with other players and share map strategies.
Frequently Asked Questions
What is the most dangerous section of the Snipers Vs Runners map?
The mid choke is universally considered the most dangerous section because it forces all Runners into a narrow passage with no alternative routes. The Sniper can pre-aim this area and eliminate Runners as they enter single file. The final corridor is a close second, accounting for roughly 40% of all eliminations according to community data.
How do I survive the spawn chaos at the start of each round?
Break away from the pack immediately and use the low barriers near the spawn point for partial cover. Pop a shield ability or smoke screen in the first three seconds to obscure the Sniper's view. Do not sprint in a straight line — angle your movement to force the Sniper to adjust their aim before taking a shot.
What abilities work best for the final corridor push?
The speed boost is essential for covering the open ground quickly, while the shield ability absorbs one hit if the Sniper lands a shot. Save at least one ability for this section — burning everything at the mid choke leaves you completely exposed. The decoy ability can also draw the Sniper's fire away from your actual position.
Does the map layout change between updates?
Yes, STOCK STUDIOS INC. has introduced variations to the core layout, including obstacle courses and parkour routes. The basic three-zone structure remains consistent, but cover positions and obstacle placement can shift. Check the official game page for patch notes and upcoming map changes.
What is the best Sniper position on the map?
The elevated center perch gives you the full map view, but it’s a magnet for Runners who know the sightline. Instead, rotate between the mid choke and final corridor, firing only when Runners cluster. Predictable snipers lose; repositioning wins the round.